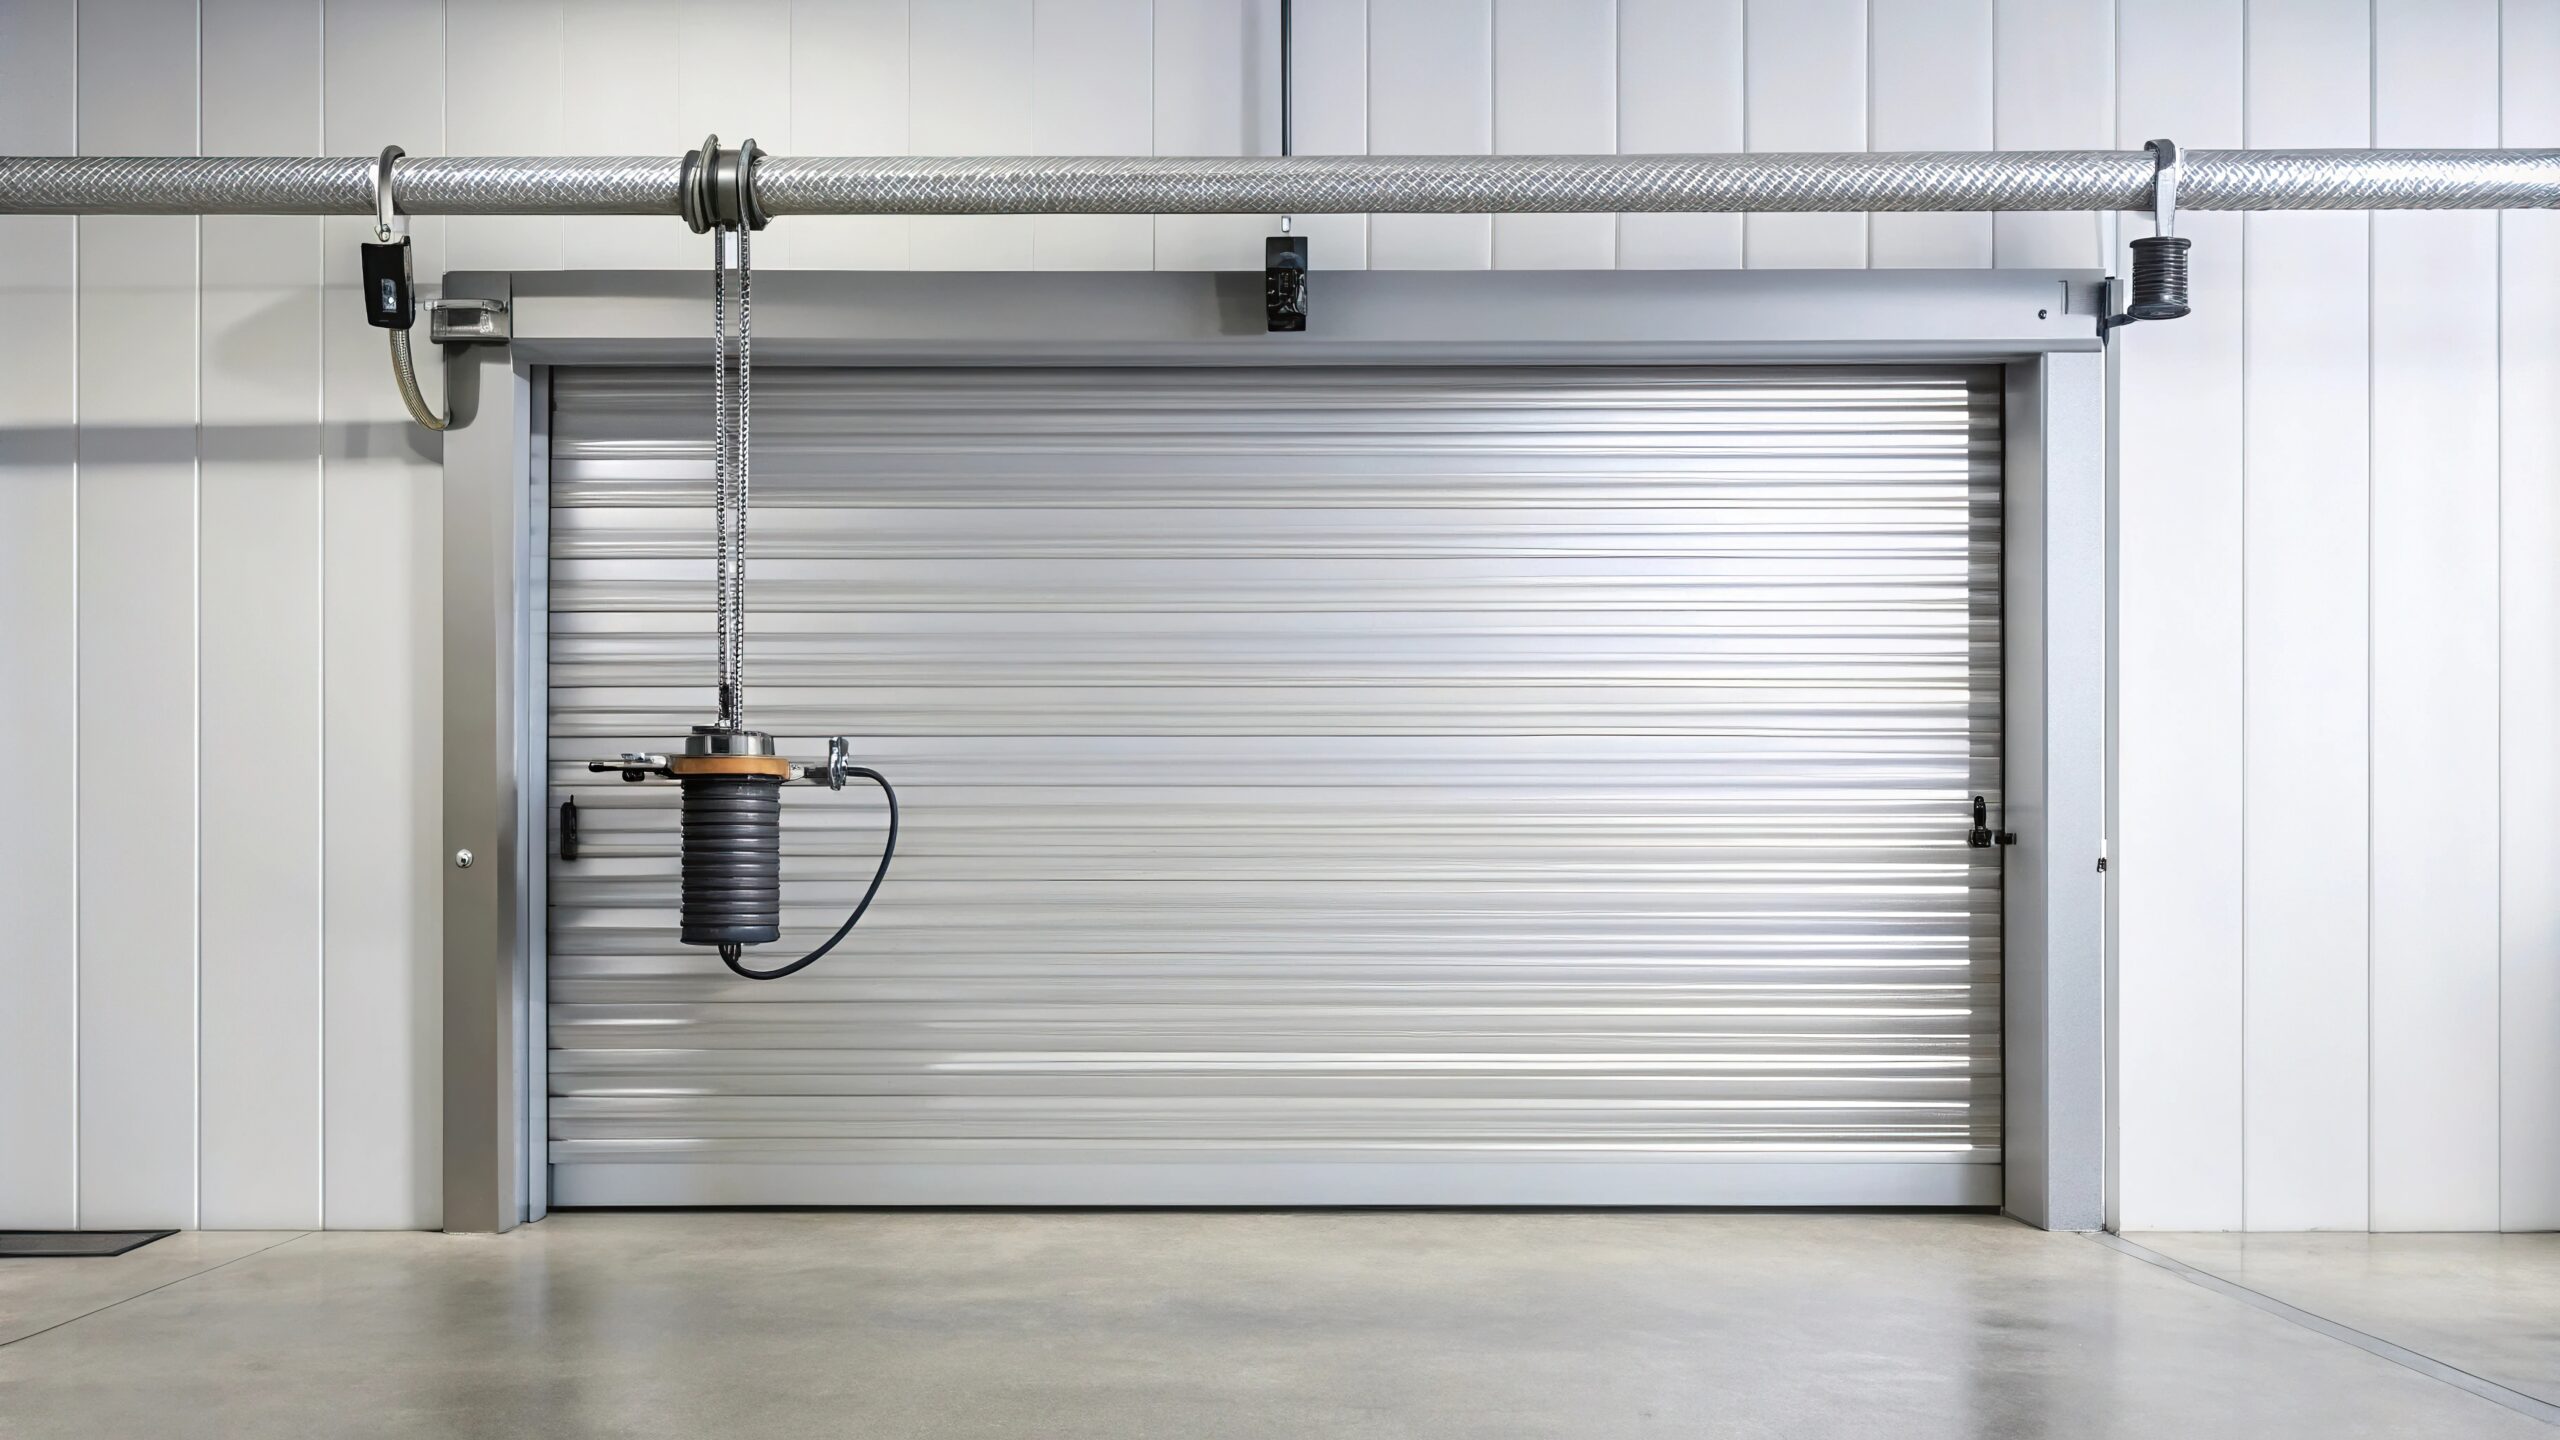
The garage door is something you frequently forget to maintain in your house. Still, routine upkeep is essential to guaranteeing its life and seamless functioning. Lubricating your garage door springs is one of the easiest yet most efficient maintenance jobs you can complete. Your garage door springs’ lifespan is greatly increased and friction is decreased with proper lubrication, which also stops rusting. We’ll walk you through the garage door spring DIY Lubrication method in this blog..
Why Lubrication Matters
The garage door springs are always tense and are an important part of how the door opens and closes. They can dry out and rust over time, which makes them more likely to rub against each other and wear down. Using DIY lubrication helps:
- Lessen Friction: This keeps the springs from wearing out too quickly.
- Stop rusting: Keeps the metal safe from water and rust.
- Smooth Operation: This feature makes sure the door moves quietly and smoothly.
- Lifespan Extension: Makes your springs last longer, so you don’t have to pay for expensive fixes or replacements.
What You’ll Need
Before you start, gather the following materials:
- Lubricant: Use a garage door-specific lubricant, such as a silicone spray or white lithium grease. Avoid WD-40, as it is not suitable for this purpose.
- Cloth or Rag: For cleaning the springs before applying the lubricant.
- Step Ladder: To reach the springs safely.
Step-by-Step Guide to Lubricating Garage Door Springs
Ensure Safety First
Because garage door springs are under a lot of stress, safety is very important when working with them. To lower the risk, make sure the garage door is all the way closed before you start. Disconnect the garage door opener so that it doesn’t go off by chance while you’re working.
Clean the Springs
Clean the garage door springs with a cloth or rag to get rid of any dust, dirt, or old grease. This makes it easier for the new lube to stick and makes sure that it works better.
Apply the Lubricant
- Spray Evenly: Hold the oil can about 6 inches away from the springs and spread it out evenly. Make sure you go all the way along the springs and pay special attention to any spots that are rusty or worn.
- Move the Door:After putting on the lubricant, open and close the garage door by hand a few times to help the grease get to all of the springs.
Wipe Off Excess
Use a clean rag to wipe off any extra grease after moving the door. If you use too much oil, it can attract dirt and other things that can ruin your work.
Additional Tips for Garage Door Maintenance
- Lubricate Regularly: Every six months, grease your garage door springs for the best performance.
- Inspect for Damage: While the parts are being oiled, look over the springs and other parts for signs of damage or wear. Should you see any problems, like frayed wires or loose brackets, you might want to call a professional to take a look and fix it.
- Don’t Overlook Other Parts: While you’re at it, grease the garage door’s wheels, hinges, and tracks, as well as any other moving parts, to make sure the whole system works well.
Conclusion
Lubricating your garage door springs on a regular basis is an easy and effective way to keep them in good shape and make them last longer. You can keep your garage door running easily and quietly by following this DIY Lubrication guide. This will save you from headaches and expensive repairs in the future. Remember that safety comes first. If you’re ever not sure how to do this or feel fine doing it, don’t hesitate to call a professional for help.


